
2D measurement and analysis function
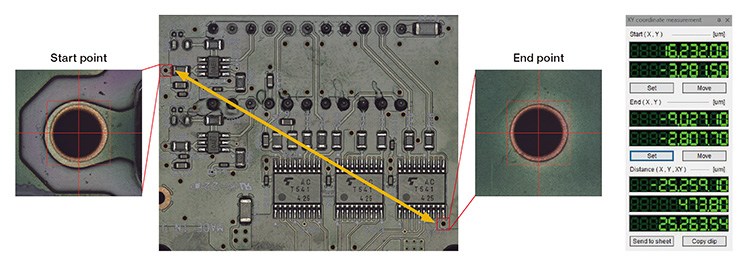
This is a function to measure the distance between two distant locations without using the patch function. To use this function, you register a point at the center of the FOV as the starting point of the measurement, then move the FOV to another point at the distant location and register that point as the end point of the measurement. This way, you can quickly measure the distance between two points that are not in the same FOV.
In the example below, the distance between two points on the printed circuit board is measured (approximately 40,000µm or 40 mm).

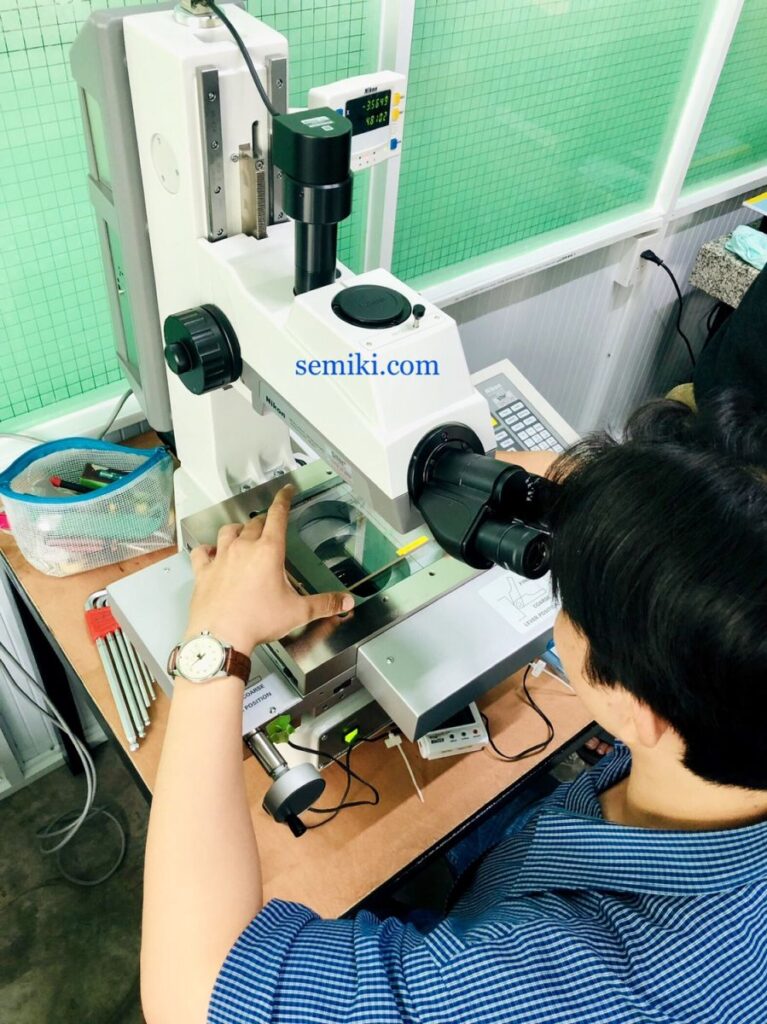
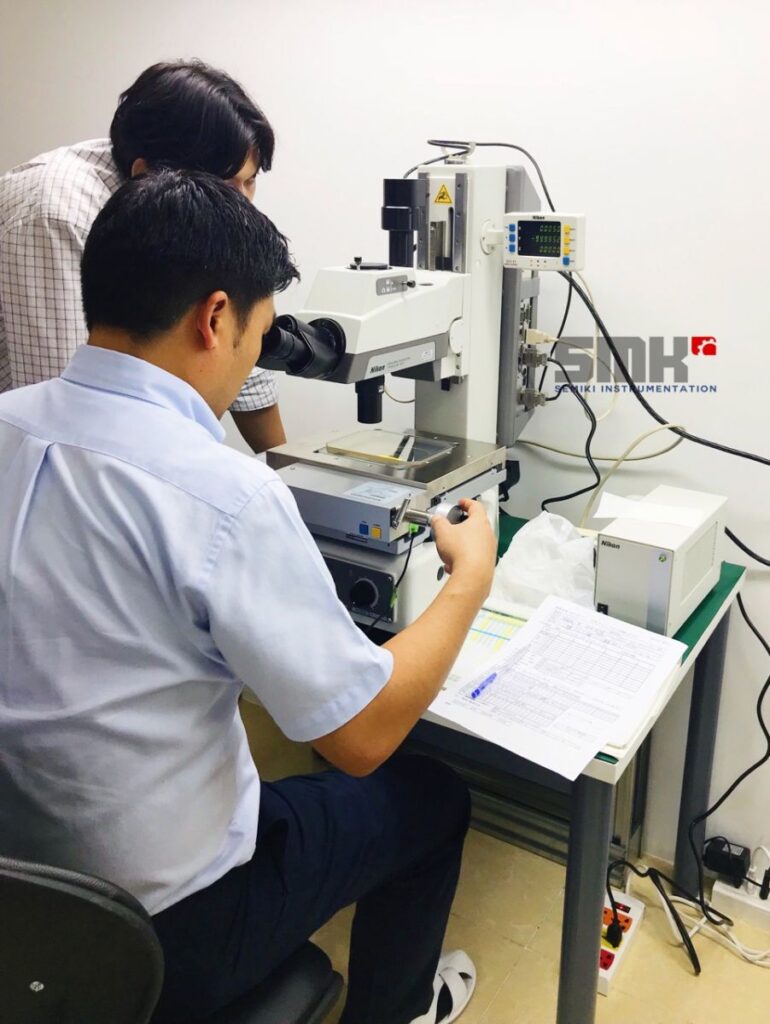
2D measuring microscopes perform non-contact, high-precision height/depth measurements with simple operation, observing the surface of the measuring point. Some famous microscope lines of Nikon like MM-400, MM-800 is a non-contact depth measuring microscope designed based on an optical type focus detection system. Through the precise focus indicator, it is possible to measure height, depth, step, etc. by observing the surface of the measuring point, by simply matching the halves of the scale. Since there is no concern about physical damage such as deformation, impact or nicks to the sample due to the non-contact system, the measuring microscope is the optimal solution for measuring electronic components such as ICs or c-processing parts, high-precision mechanical products.

This microscope system provides a precise focus indicator consisting of a scale (Objective Mark) and a beam-splitting prism built into the microscope's reflective illumination optical system. And it is designed based on the optical principle that in the precise focus state, where the upper and lower halves overlap, can be observed above the focused image of the specimen, and when it is defocused even slightly, the index line will be divided into two lines in the upper and lower halves of the grid

2D/3D measuring microscopes from famous brands such as Nikon, Olympus, Mitutoyo… distributed by SEMIKI can enhance the appearance and consistency of the product, improve customer perception and build trust in your brand.
Application of measuring microscopes in product quality control in precision mechanical engineering, electronic circuit board manufacturing, educational research, etc.
CONTACT
SEMIKI MEASUREMENT EQUIPMENT COMPANY LIMITED
Address: 63 Ho Ba Kien, Ward 15, District 10, Ho Chi Minh City, Vietnam.
Phone: +84 28 2253 3522
Request a quote: sales@semiki.com