Force and mechanical measuring equipment
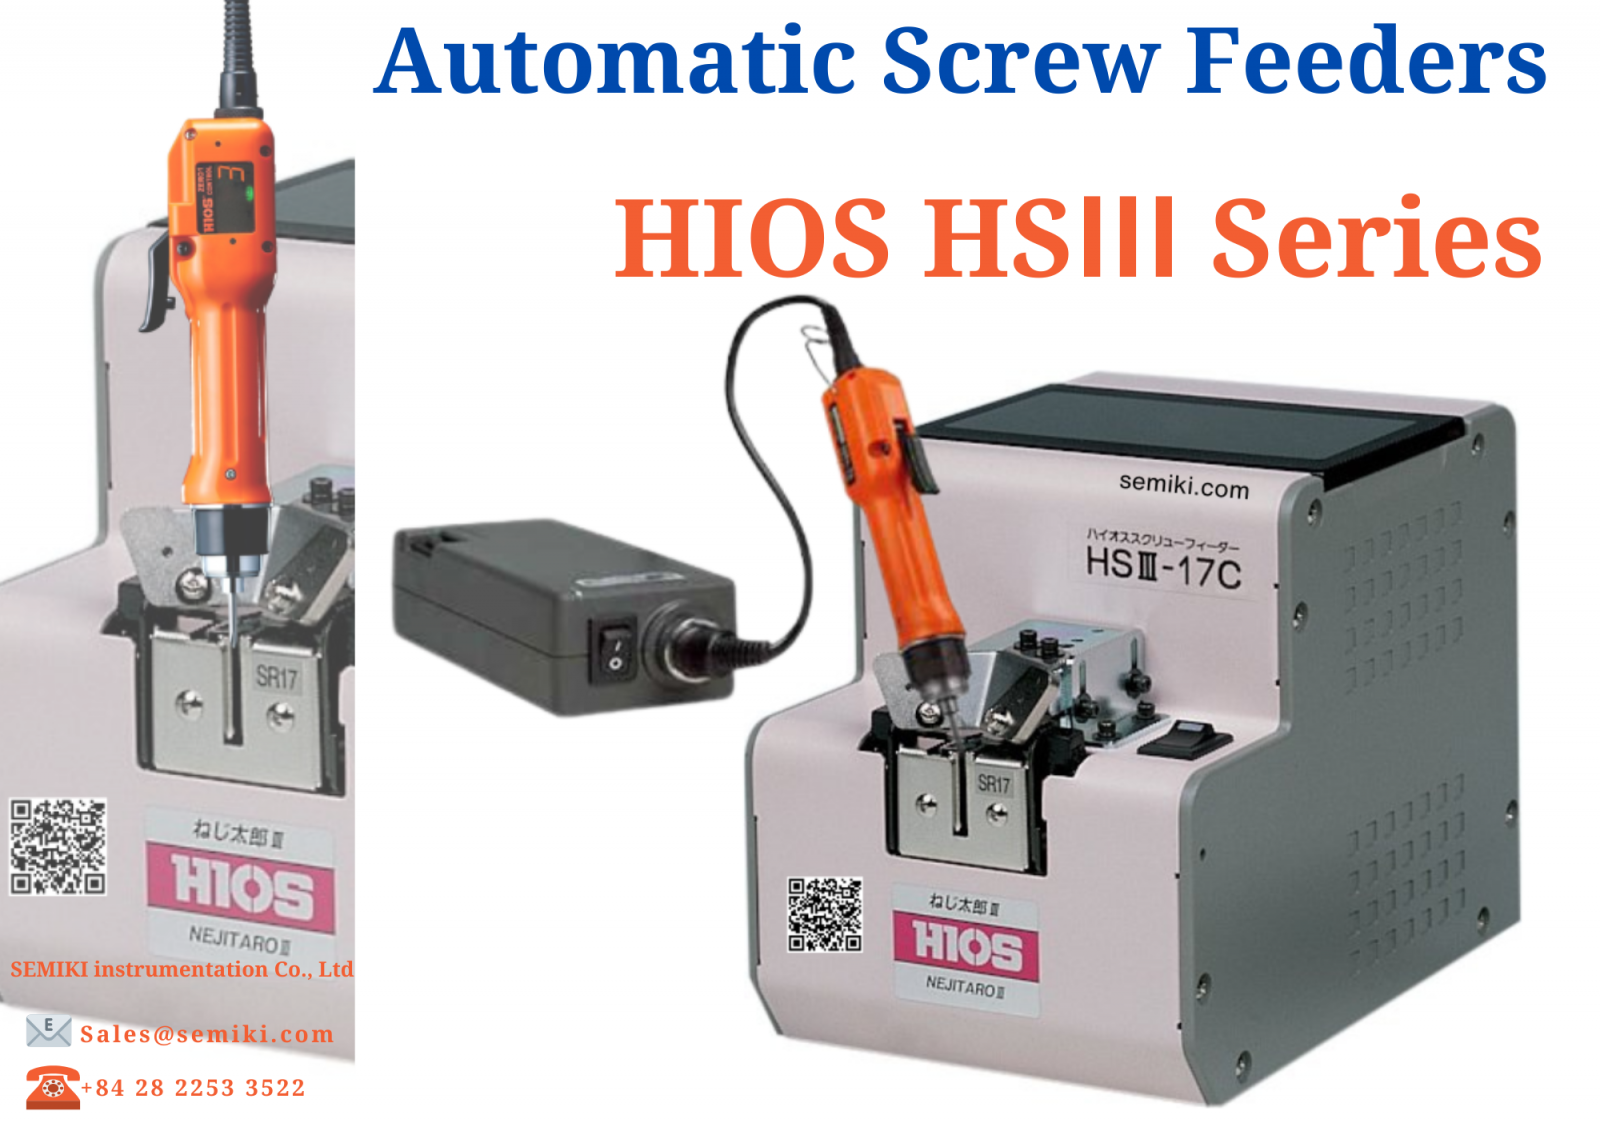
HIOS Japan Automatic Screw Feeder
HSⅢ-30 (with HS-SR30)
Nominal screw diameter: M3.0
Head diameter (∅): (∅)4.0-6mm
Head thickness: 0.35-4.5mm
Shaft length: 4.8-20mm
Corresponds to 8 kinds of screw diameters with one main unit by replacing the rail. Fast and stable screw supply. Equipped with safety function that activates overload protection in case of abnormality such as screw clogging.
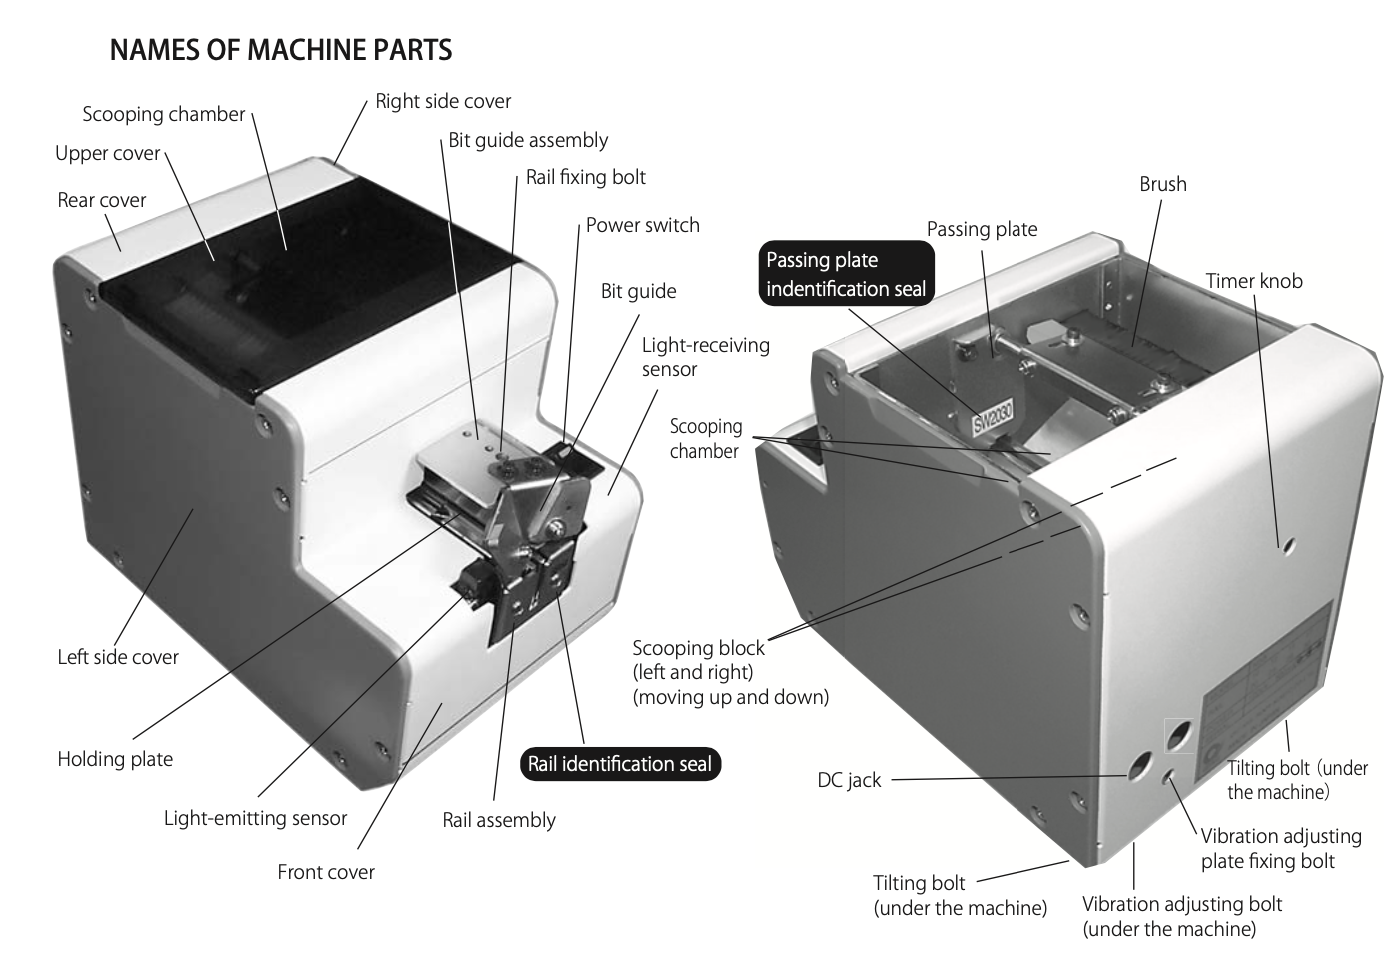
Number of Screws Thrown: If too many screws are thrown, the direction and movement of the screws will be seriously affected. See diagram on the right for the maximum number of screws thrown in the bucket compartment. The screws must be positioned 2 to 3 mm below the rail groove. Adjusting the height of the brushes: The brushes in the HSF must rotate at a height where they contact the screw head entering the rail groove. If adjustment is required, loosen the brush height adjustment screw.

Corresponding to 8 types of screw diameters with one main unit by replacing rails.
Fast and stable supply of screws.
Equipped with a safety function that activates overload protection in the event of an abnormality such as screw clogging.
HIOS Automatic Screw Feeder HSⅢ-30 (with HS-SR30)
Nominal screw diameter: M3.0
Head diameter(∅): (∅)4.0-6mm
Head thickness: 0.35-4.5mm
Shaft length: 4.8-20mm
Pic.: HIOS HSIII-30 (HS3-30) at Semiki's warehouse

Corresponding to 8 types ( M1.0 to M3.0)
HSⅢ-10 (M1.0)/ HSⅢ-12 (M1.2)/ HSⅢ-14 (M1.4)/ HSⅢ-17 (M1.7)
HSⅢ-20 (M2.0)/ HSⅢ-23 (M2.3)/ HSⅢ-26 (M2.6)/ HSⅢ-30 (M3.0)
Quantity of screws thrown in
If too many screws are thrown in, orientation and transfer of the screws will be seriously affected. See the diagram on the right for the maximum number of throw screws in the scooping chamber.
Screws should be positioned 2 to 3 mm below the rail groove.
Adjusting the height of the brushes
The brushes in the HSF should rotate at a height where they come in contact with the screw heads going into the rail groove. If adjustment is required, loosen the brush height adjustment screw.

Maintenance and calibration :
► We also have calibration certificate attached ( optional )
► Please re-calibrate after use for a certain period through our purchase store.

DISTRIBUTED BY:
Semiki instrumentation Co., Ltd
Email: sales@semiki.com
Office tel: +84 28 2253 3522
~DOING OUR BEST FOR YOU~