Force and mechanical measuring equipment
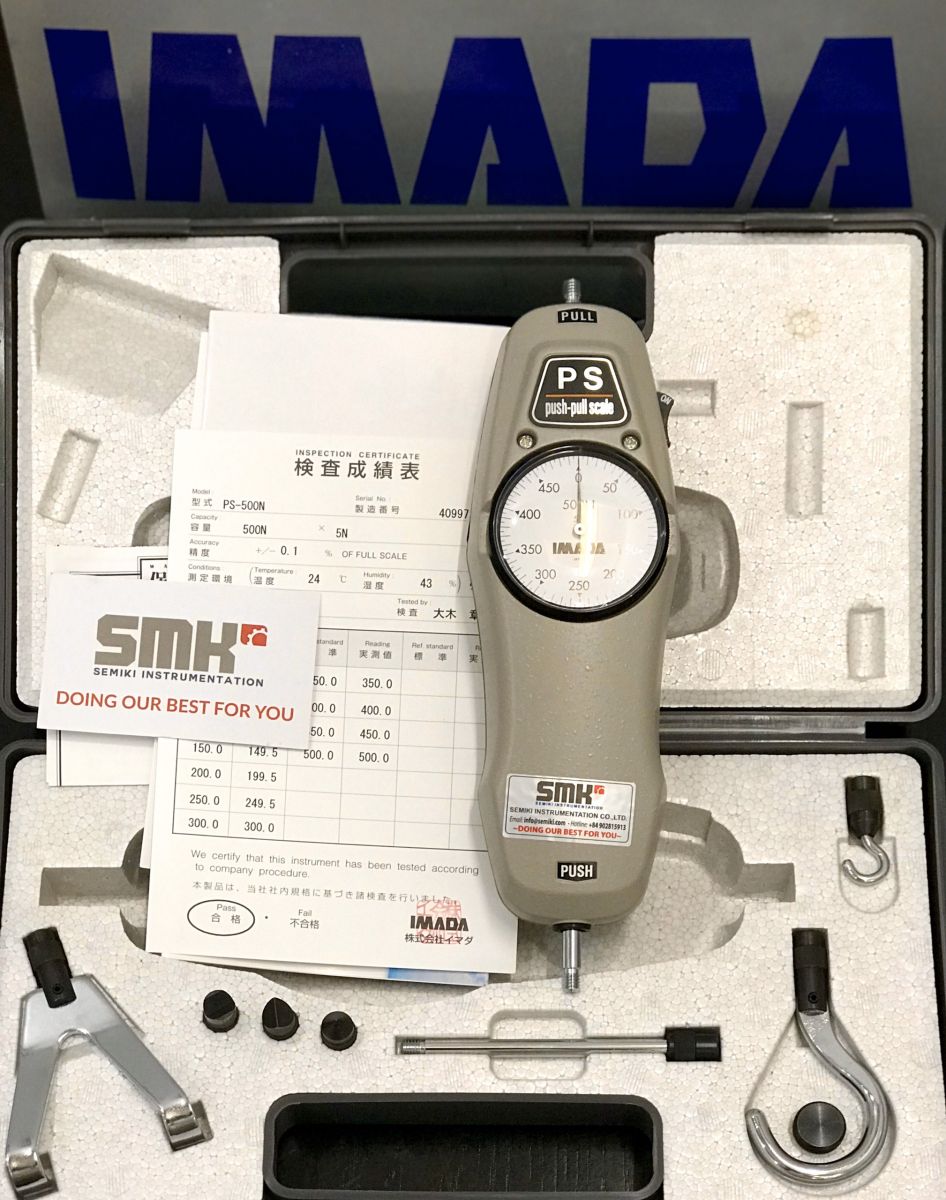
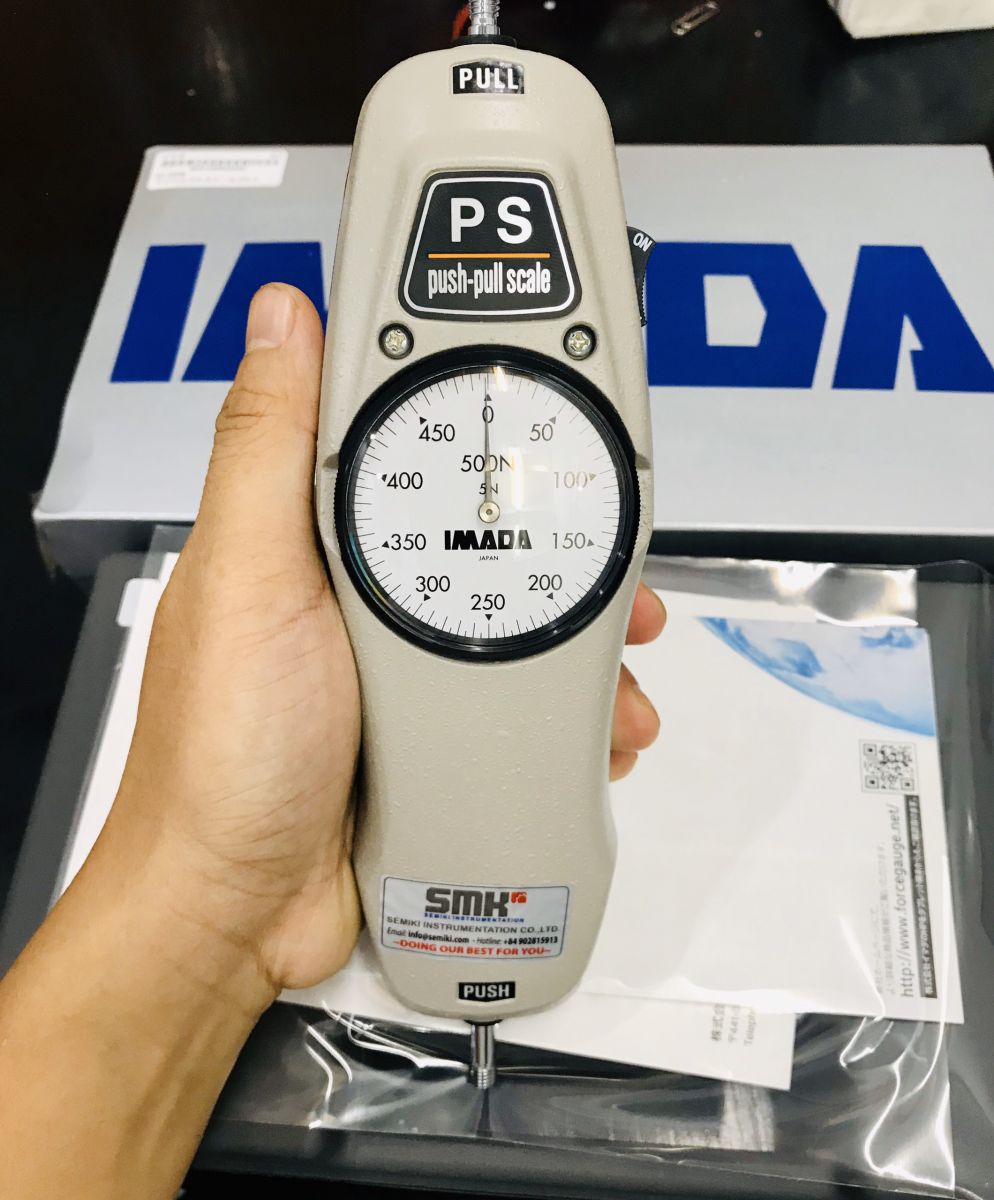
IMADA PS, PSS series standard mechanical force gauges have a load capacity of 500N and a high accuracy of ±0.1%. They support compression and tension, and are equipped with a stop mechanism to measure peak values.
Feature
Easy to handle with little risk of malfunction or failure due to external factors such as noise or static electricity due to sturdy mechanical construction
Ideal for precise measurements with the highest accuracy
Measure both compression and tension forces
Easily capture peak values with switchable peak hold function
Supports precise measurement with tare ring for zero adjustment
–
IMADA
Mechanical Force Gauge
Model: PSS / PS series
Standard Type Mechanical force gauges have capacity of 500N, and are with high accuracy of ±0.1%. They support compression and tension, and are equipped with a stop mechanism so that peak values can be measured.
[Application]
– Measuring of the contact pressure for touch panel or keyboard
– Measuring of the bonding strength of adhesive tapes and the peel strength of adhesive sheets
[Feature]
– All models are equipped with Peak Hold function which captures peak force.
– Zero adjustment function for tare weight allows the adjustments of attachment's weight.
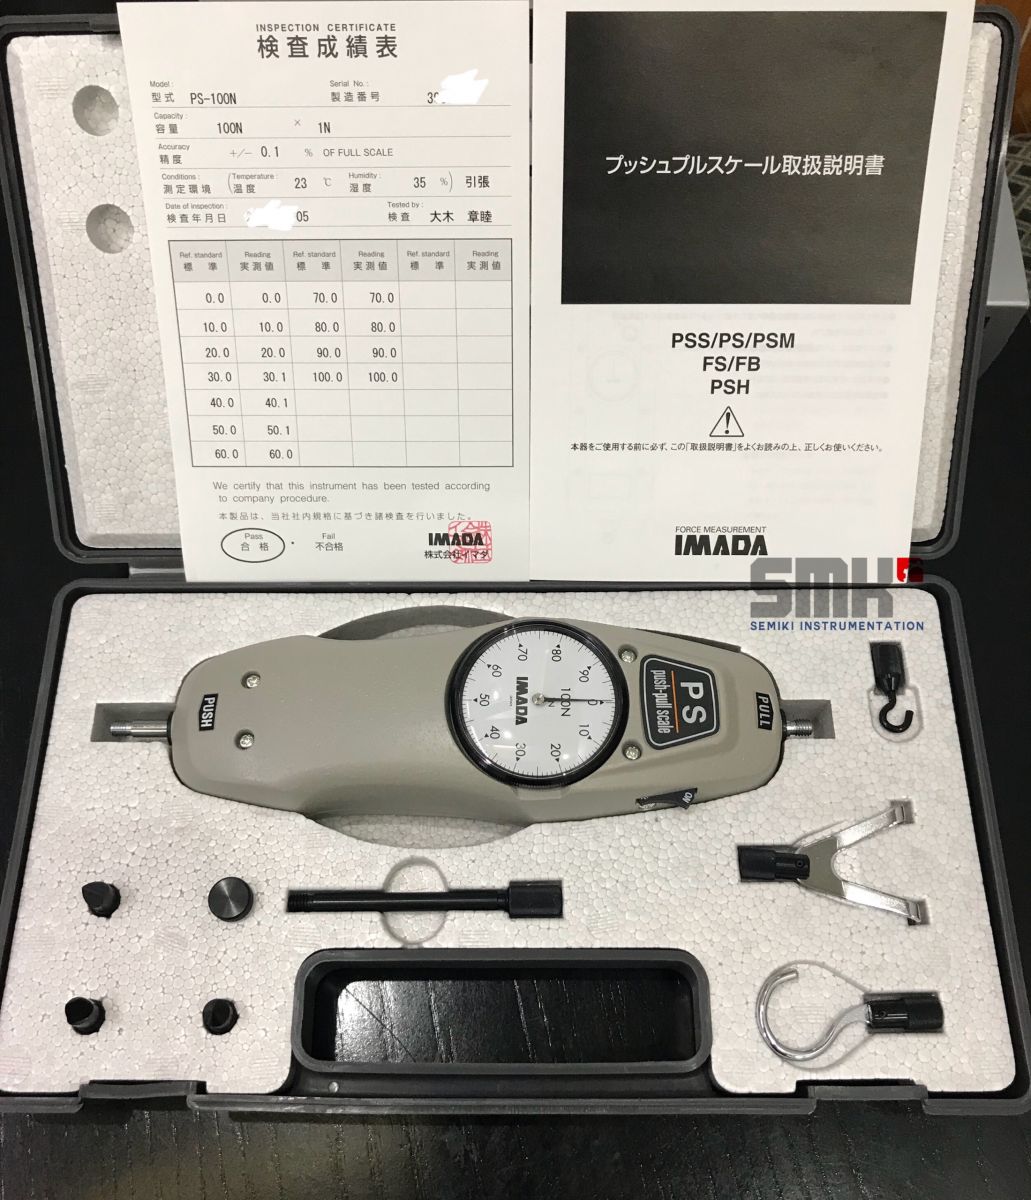
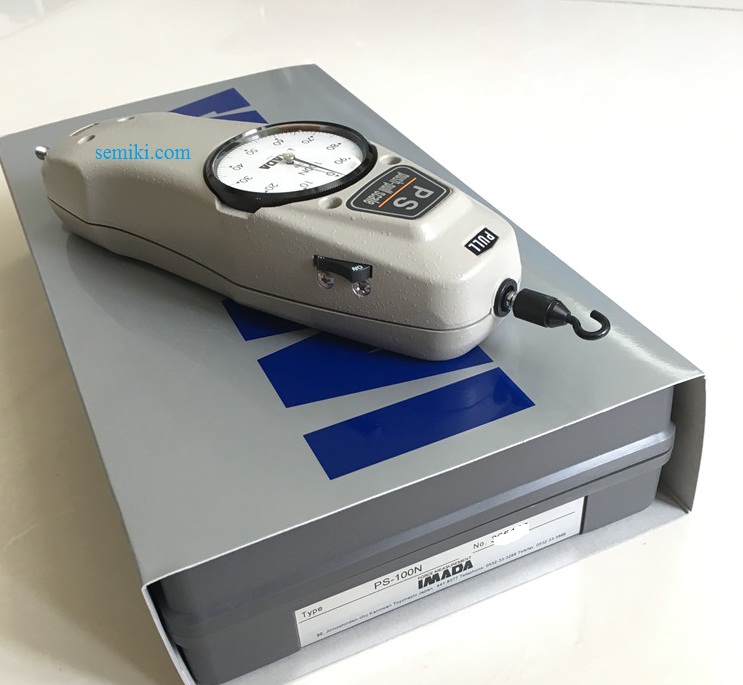
semiki-imada Mechanical Force Gauge PS-100N at Semiki's warehouse
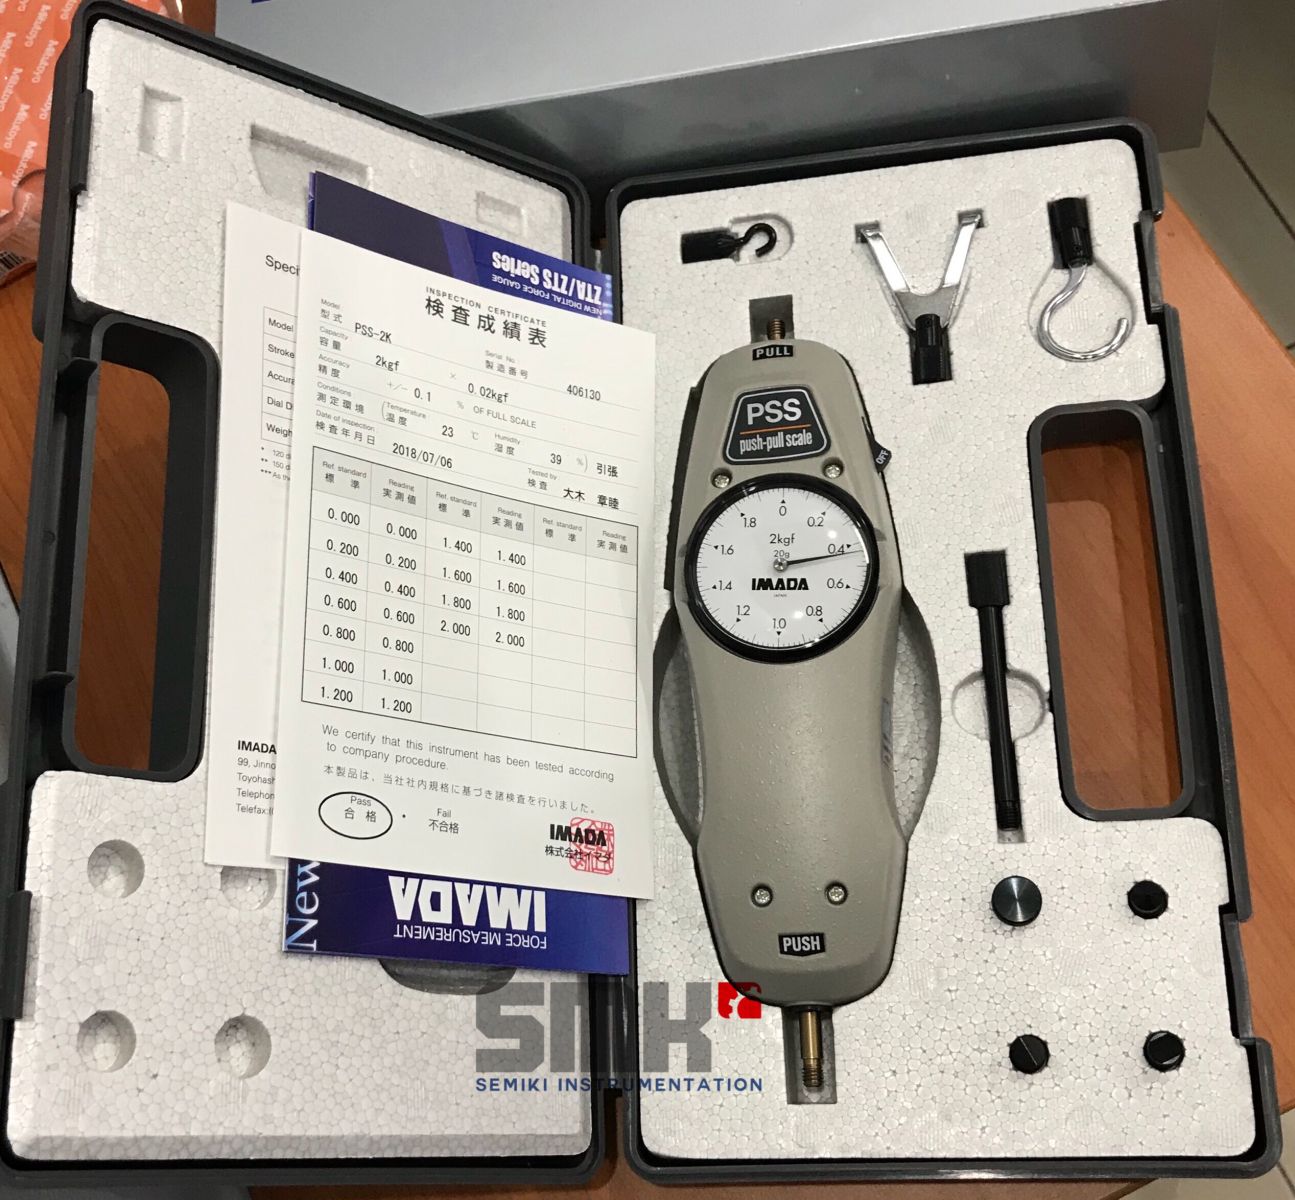
semiki-imada Mechanical Force Gauge PSS-2K (2kgf) at Semiki's warehouse
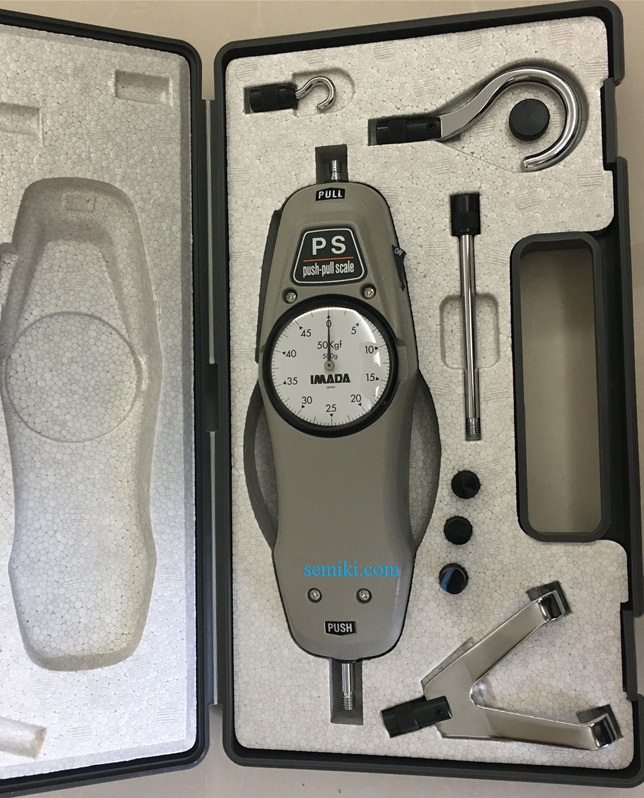
semiki-imada Mechanical Force Gauge PS-5K (5kgf) at Semiki's warehouse

| Model | PS/PSS Series |
|---|---|
| Accuracy | +/-0.1% FS |
| Stroke | 10mm |
| Unit of measurement | Please refer to the table below |
| Reading method | Real-time track or Peak-hold |
| Divisions | 100lines* |
| Operating temperature | 0 to +40 degrees Celcius |
| Weight ** | Approx. 670g(PS-500N) |
| Accessories | 8 kinds of attachments,Inspection certificate, Instruction manual, Carrying case |
[Caution]
*Do not apply excess force, torque, or impact on the measuring shaft.
*Do not use the gauge under the conditions of rapid temperature changes, high
temperature, high humidity, near water and dusty place.
*Keep the gauge in the exclusive carrying case when it is not used.
*The use of the test stand made by Imada is recommended for the stable measuring result.
*All information is subject to change without prior notice.
Maintenance and calibration :
► We also have calibration certificate attached ( optional )
► Please re-calibrate after use for a certain period through our purchase store.

DISTRIBUTED BY:
Semiki instrumentation Co., Ltd
Email: sales@semiki.com
Office tel: +84 28 2253 3522
~DOING OUR BEST FOR YOU~